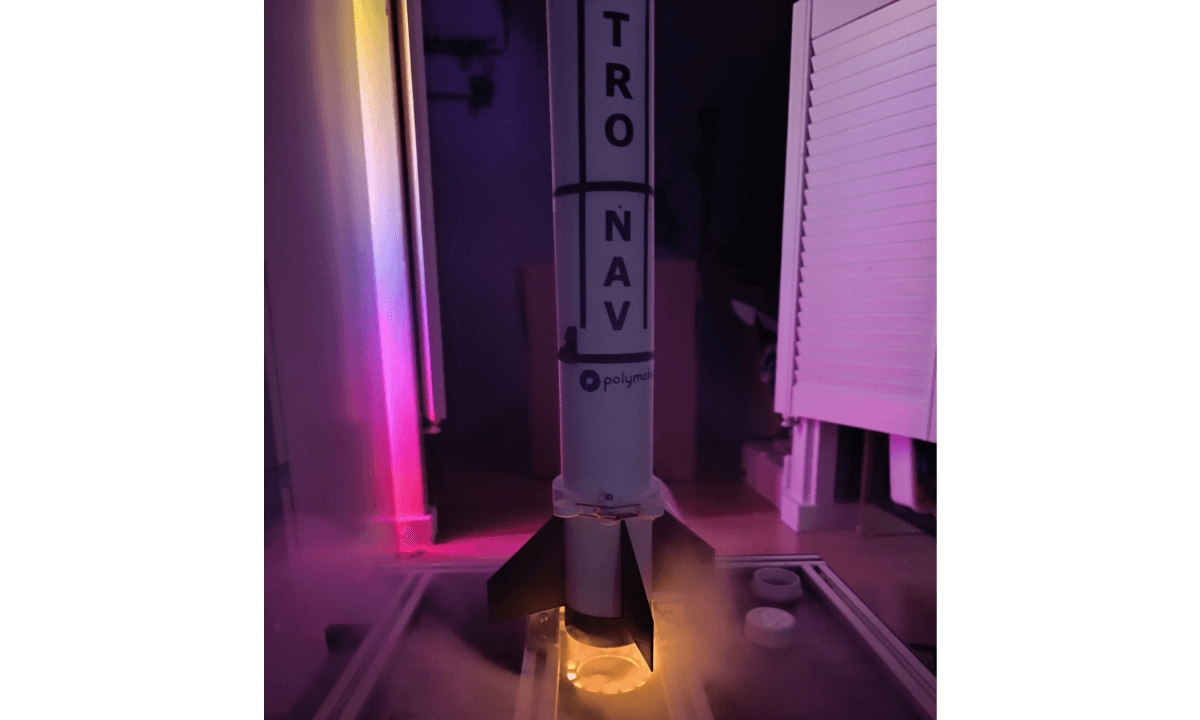
AstroNav, A fully 3D printed working model rocket

My project goal:

The goal of project ‘AstroNav’ was to challenge myself with something I didn’t know much about yet. I wanted a fully 3D-printed, lightweight but strong rocket that would actually fly.

These were the requirements:

  • Lightweight
  • Reusable
  • Safe
  • Cool looking
  • Smart

First Steps

I began with a simple model rocket kit I bought. I assembled and launched it together with my grandpa, and we both loved it! After that, my interest in rockets and space kept growing, so I decided to start project ‘AstroNav’. The first rocket (Picture 1) was a failure. It was impractical to assemble, too heavy, and as a result, it flew very low and fell to the ground, breaking some fins.
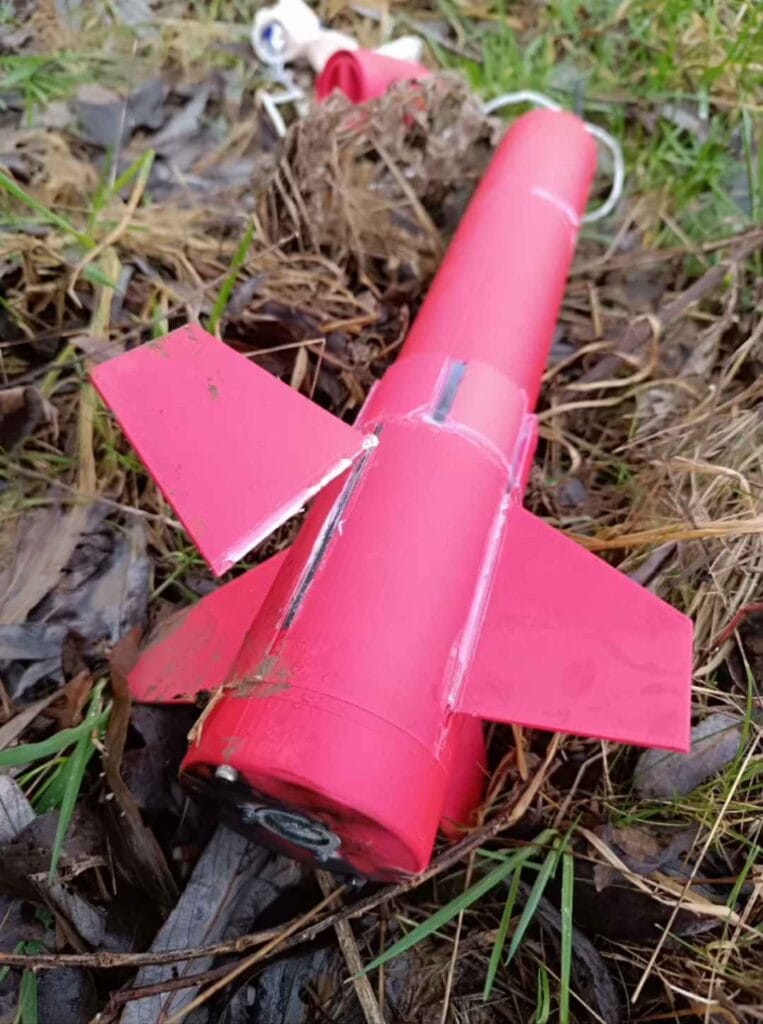
Photo 1

Big steps

After that, I learned it was going to take more than 30 minutes of CAD designing and glue. I completely redesigned the rocket. Features that worked as intended, such as the parachute holder and the engine holder, remained in the current design.

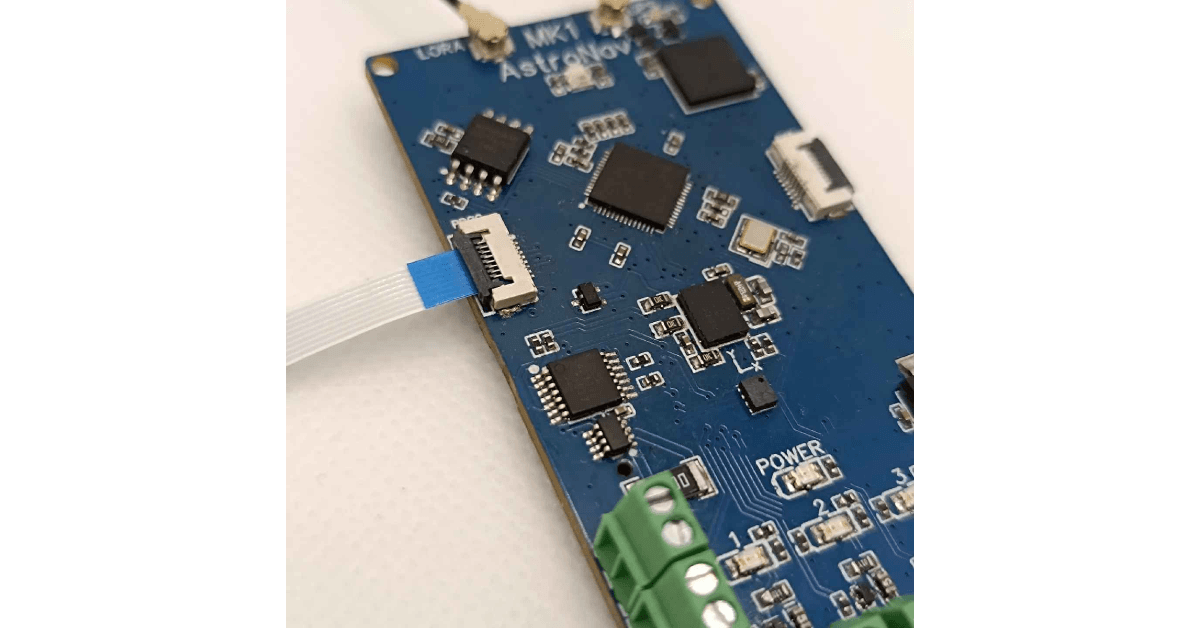
I also decided to challenge myself even further by creating a custom flight controller for the rocket. The custom PCB will be made from scratch. The goal of the flight controller is to receive live data from the rocket during flight and GPS coordinates to locate the rocket after it has landed.

I also reached out to PolyMaker® to see if they were interested in sponsoring my project. They produce very high-quality 3D printer filaments, and the entire rocket is made from their awesome filaments! (They’re awesome—give them a try!)

I also made a YouTube video showcasing the launch of the rocket. In the video, I also share more details about the rocket itself and its backstory. Check it out if you’d like to see some epic footage!

Great succes

I am happy to say that this launch was a success! However, it was not perfect, and there is still a lot of room for improvement. There are two issues that must be fixed before the next flight.

The first is the onboard camera. It failed during the first flight and, unfortunately, also failed this time. I believe the cause is vibrations corrupting the micro SD card.

The second issue is the flight controller, which was unable to launch the rocket. I was still using design V2, which is now very outdated. It was nerve-wracking to use because it launched the rocket on a fixed timer. Once powered on, I had six minutes to close everything up and move to safety. Looking back, I’m not proud of this setup—it was very, very unsafe!

Additionally, the PCB refused to ignite the E-Match. This was likely due to the chip on the PCB that converts power from 7.2V to 5V overheating. This may have happened because I directly soldered the camera to the chip… oops.

AstroNav V2

AstroNav V2 will include many improvements based on everything I’ve learned over the past year of building. One example is the onboard camera. This time, I’ll use a more serious and reliable setup: the ‘Caddx Turtle V2’. It offers a higher frame rate, better video quality, and it starts recording as soon as it powers up, which is fantastic!

I also upgraded the custom PCB with additional safety measures and added a LoRa module this time. This means I will be able to communicate with the base station, which will be connected to my laptop to visualize the data. (See the video below for more details about the PCB) This means i can launch it remotely so no hard coded timers!

I also plan to add active roll control to the rocket. My goal is to keep the onboard camera pointed at a fixed angle on the ground. A little fin mounted to a servo arm will control it. This will be part of the next upcoming flight!

Active roll mechanism

AstroNav V2 flight

Astronav V2 has flown on 4-1-2025!
Sadly, I was unable to meet the deadline (end of December 2024), but that’s okay!

Flight 1 went well in some ways and not so well in others, and I’ll explain why! But before I do, I recommend you watch the video first!

AstroNav V2 flight recap

As you might have seen in the video, the flight didn’t exactly go as planned. Of course, it sucks that it broke, but there are also some positive takeaways. Moments like these are great learning experiences.

If you look closely at the first shot of the launch, you’ll see me standing very close to the rocket. That’s because, for some reason, I couldn’t get a connection over LoRa with the flight controller. There are a few possible reasons why this happened:

1. Placing the antenna inside the rocket severely reduced the range.
2. I might have messed up choosing the right antennas for the flight—maybe I picked the wrong frequency?
3. There’s a lot of noise in the area where I launched.
4. The antenna might have come loose from the flight controller.

I’m still not sure what caused this issue, but it’s definitely something I’ll be looking into. Right now, my main guess is Reason 4, because the range was so poor, and I launched it in the middle of nowhere. Plus, the rocket is made out of plastic, which shouldn’t reduce the signal that much.

Once I got it into countdown, I ran away, and it successfully launched with a nice, loud engine noise (which is a good sign). However, it felt like the rocket stayed on the ground longer than usual before taking off. When it finally launched, the clamps holding the rocket released perfectly and fell to the ground.

That’s when I noticed it was flying at about a 75-degree angle (90 degrees being straight up), which isn’t ideal. Despite that, it continued ascending and reached a height of 88.9 meters, which was lower than I’d hoped.

After hitting apogee, it began descending—this was the point where it should have deployed the parachute, but it didn’t. The rocket kept speeding up until it slammed into the muddy ground with a loud bang and a cloud of smoke.

Astronav V2 was completely destroyed, blown into pieces by gravity. The only parts that survived were the nose cone, the electronics bay, and the fins. Everything in between was shattered into countless pieces.

Conclusion

I can’t lie, It sucks seeing all that hard work break into pieces. But at the same time, I was happy! The flight controller (aside from the LoRa communication issue) worked perfectly. It captured a lot of data from the flight, which helped me figure out what happened.

To me, this isn’t a failure but a learning opportunity. Every time, I learn more and more, and I’ll keep working to improve.

What went right this time:
* Flight controller saved usefull data.
* Onboard camera recorded (beside the bits of corrupted data)
* New rocket basestation clamp worked perfect.

What needs inprovement:
* Parachute backup, in case of failure.
* diffrent launch rail, to have less friction.
* Improving the flight controller’s range, This will be a key area of investigation.

AstroNav V3????

I still see so much room for improvement, so I’ll be working on AstroNav V3. I’ll take my time to make it as perfect as possible. You can expect it to be ready sometime toward the end of this year.

Leave a Comment

Your email address will not be published. Required fields are marked *

Scroll to Top